
How to Expand Your Kitchen Island: DIY Kitchen Island Extension Table (Step-by-Step Guide)
- ATC DESIGN

- Feb 8
- 3 min read
Kitchen islands have become a must-have feature in modern kitchens, and for very good reasons. They are true multi-taskers: extra workspace, storage solution, dining area, and a natural gathering point for family and guests.
In open-plan kitchens, a kitchen island extension is especially useful. It creates a smooth transition between the kitchen and living room, allowing the cook to stay connected with guests while preparing meals. Practical and social? Yes, please.
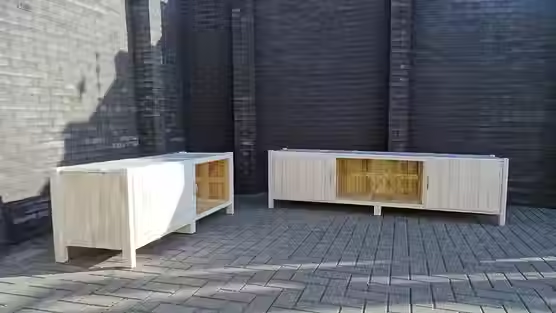
In this article, I’ll show you how to expand a kitchen island with a Rustic DIY table extension, step by step, using simple woodworking techniques and durable materials.
👉 Bonus: If you prefer a visual guide, you can find the detailed plans here: DOTI…
Materials and Accessories Needed
Before starting your DIY kitchen island extension, make sure you have all materials and tools ready. This will save time and ensure a smooth build.
Materials
Solid wood boards (reclaimed wood or pallet wood recommended)
Wooden beams (for legs and support structure)
Epoxy resin (clear or glow-in-the-dark effect)
Optional: metal brackets or reinforcement plates
Tools & Accessories
Optional Finishing Accessories
DIY Kitchen Island Extension – Step-by-Step
1. Measure Your Kitchen Island Carefully
Start by taking precise measurements of:
The existing island
The desired table height
The depth and width of the extension
📏 Accuracy here ensures stability and comfort later.


2. Build the Legs and Back Support
Create the wooden legs and the rear support structure that will hold the extension firmly against the island.
This structure is key for:
Weight distribution
Long-term stability
Safe everyday use


3. Burn the Wood for Protection
Burning the wood (Shou Sugi Ban technique) helps:
Protect against moisture
Increase durability
Add a unique rustic finish
🔥 Functional and beautiful.


4. Add Decorative Wood Designs
This is where creativity kicks in.Add custom drawings or patterns to the wood to personalize your kitchen island extension.
Every piece becomes unique.


5. Sand and Apply Epoxy Resin (Glow Effect)
Sand the surface thoroughly, then apply epoxy resin, including a glow-in-the-dark effect for a bold and modern touch.
✨ Perfect for evening ambiance and wow-factor.


6. Sand Again for a Perfect Finish
Once the epoxy has cured:
Sand again to remove imperfections
Achieve a smooth, professional surface

7. Assemble and Attach to the Kitchen Island
Mount all elements together and securely attach the extension to the island.
🔩 Make sure everything is level, stable, and solid.

Enjoy Your New Kitchen Island Space
And just like that you’ve created extra space for cooking, dining, and conversation, whether it’s over a nice meal or while preparing food with friends and family.
A simple DIY project that makes a huge difference in everyday kitchen life.


Watch the Full DIY Video Tutorial
🎥 Want to see the full build in action?
Mr ATC
For another housing and DIY idea
And of course, find below one of our best selling Kitchen item:


Comments