🌿 How to Build a Large Rectangular Pallet Planter (Easy DIY Guide with Reclaimed Wood)
- ATC DESIGN

- May 4
- 2 min read
If you are looking for a simple, sustainable, and low-cost DIY garden project, building a large rectangular pallet planter is the perfect solution. With just a few tools and reclaimed pallet wood, you can create a strong and beautiful planter box for flowers, herbs, or vegetables.


This step-by-step guide will show you how to transform old pallets into a functional and decorative garden feature.
♻️ Why Build a Pallet Planter?
Using reclaimed pallet wood is not only budget-friendly, but also environmentally responsible. Instead of throwing wood away, you give it a second life.
Benefits of a pallet planter:

Low-cost DIY project
Eco-friendly and sustainable
Custom size and design
Perfect for gardens, terraces, and balconies
Great for growing plants, herbs, or vegetables
🧰 Materials and Tools Needed
Before starting your project, make sure you have the following:
Materials:
Old wooden pallets (EUR/EPAL pallets recommended)
Tools:
🔨 Step 1: Dismantle the Pallets
Start by carefully breaking down the pallets into usable planks.
Remove all nails
Keep the wood as intact as possible
Sort planks by size and quality


👉 Tip: Wear gloves and safety glasses to avoid injuries.
📏 Step 2: Measure and Design Your Planter
Decide the size of your rectangular planter. A larger design works well for gardens, while smaller versions are perfect for balconies.
Choose length, width, and height
Mark your cutting lines
Plan internal structure for stability


🪚 Step 3: Cut and Prepare the Wood
Cut the pallet planks to your desired measurements.
Sand all edges to avoid splinters
Remove rough or damaged parts
Prepare uniform pieces for assembly


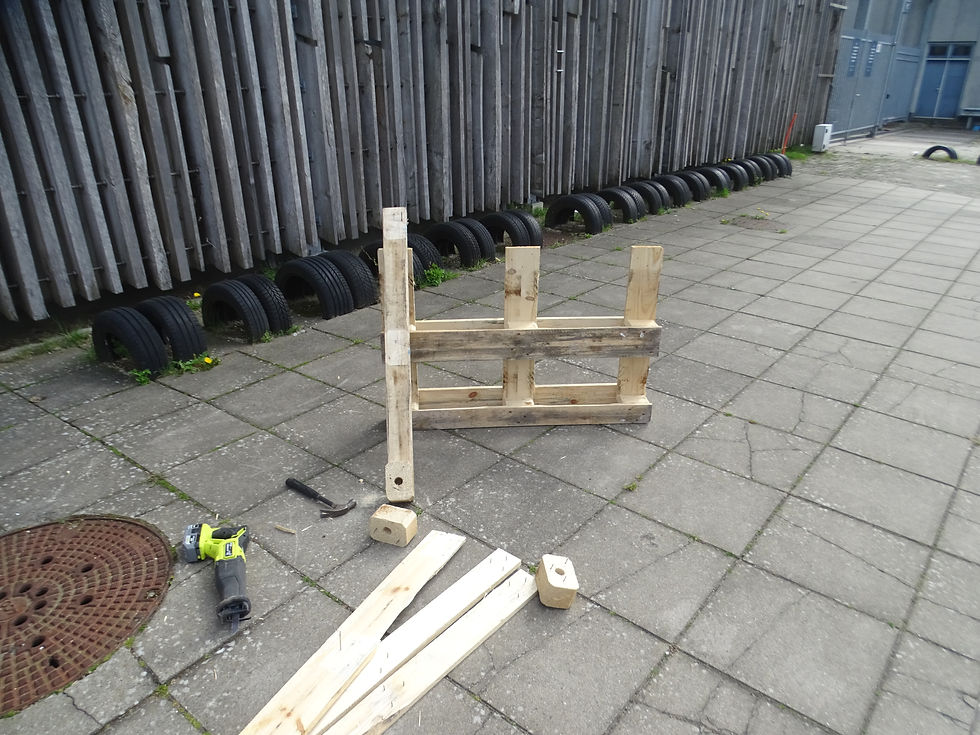
🪛 Step 4: Assemble the Frame
Now you build the structure of your planter.
Start with the rectangular base frame
Attach side panels one by one
Reinforce corners for extra stability


👉 Tip: Pre-drill holes to prevent wood from splitting.
🌱 Step 5: Finish and Protect the Wood
To make your planter durable outdoors:


Apply wood oil or outdoor varnish
Let it dry completely
Optionally add a plastic liner inside to protect wood from moisture
🌼 Step 6: Fill and Plant
Your pallet planter is now ready!
Add soil or compost
Plant flowers, herbs, or vegetables
Place it in your garden, terrace, or balcony


🌍 Final Result
With just reclaimed pallet wood, you have created a large, rustic, and sustainable planter box that adds natural beauty to any outdoor space.
This project proves that with a bit of creativity, old materials can become something truly valuable again.


Comments