
How to Make a DIY Cutting Board From Reclaimed Wood
- ATC DESIGN

- May 10, 2018
- 2 min read
Cutting cheese and anything else feels so much better when it’s done on a handmade wooden cutting board!
As always, this project was made using reclaimed wood I found in a nearby trash container. This time, I was lucky: I found several different wood types, which not only saved me money but also created a beautiful multicolor effect on the finished board.
If you want to build your own, I’ve included a free plan with exact dimensions so you can follow along easily.

1. Selecting & Preparing the Wood
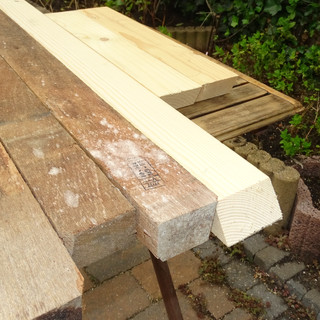
I started by selecting the best pieces of reclaimed wood I found. Because they were all slightly different, the first step was to clean and level them.
Using the planer, I surfaced all sides of each piece to remove dirt, bumps, and imperfections. This also guaranteed perfect glue joints later in the process.


2. Cutting the First Measurements
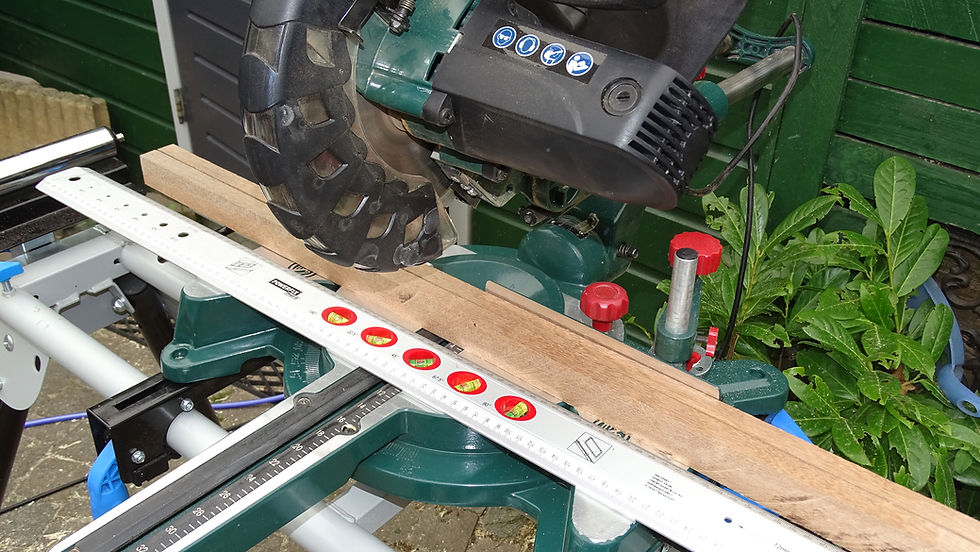
With the wood clean and smooth, I moved to the miter saw to cut all the pieces to the initial lengths needed for the cutting board.
This step sets the foundation for a clean layout, so accuracy matters!
3. Glue-Up: Forming the Board
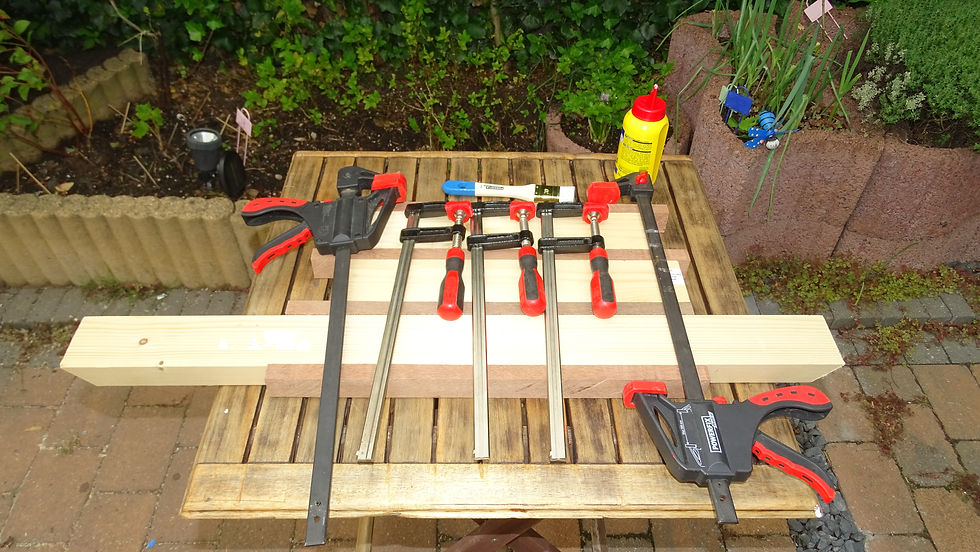
Once all the strips were ready, I arranged them to get the color pattern I wanted.With everything in place, I added glue to each strip and clamped them tightly, making sure the surface stayed as flat as possible during the drying process.
Clamps stayed on until the glue was fully dry.
4. Creating the Multi-Wood Effect
To enhance the multi-wood look, I marked additional cut lines across the board.Then, I returned to the table saw to make the crosscuts and rearranged the pieces again before a second glue-up.
This technique gives the board a more dynamic, professional pattern.


5. Final Surfacing and Edge Cleanup
After all pieces were glued and dried, I passed the board through the planer one last time to remove any remaining imperfections.
Next, it was back to the table saw to trim the edges and square everything up.
At this stage… the cutting board already looked great.


6. Rounding the Corners
To soften the design, I used my router table to round the corners.This gives the cutting board a cleaner look and makes it more comfortable to handle.

7. Finishing With Food-Safe Mineral Oil
The final step: applying food-grade mineral oil.This not only protects the wood but also enhances the natural colors and grain patterns of the different wood types.
After a couple of coats, the board was ready for the kitchen beautiful, durable, and eco-friendly.
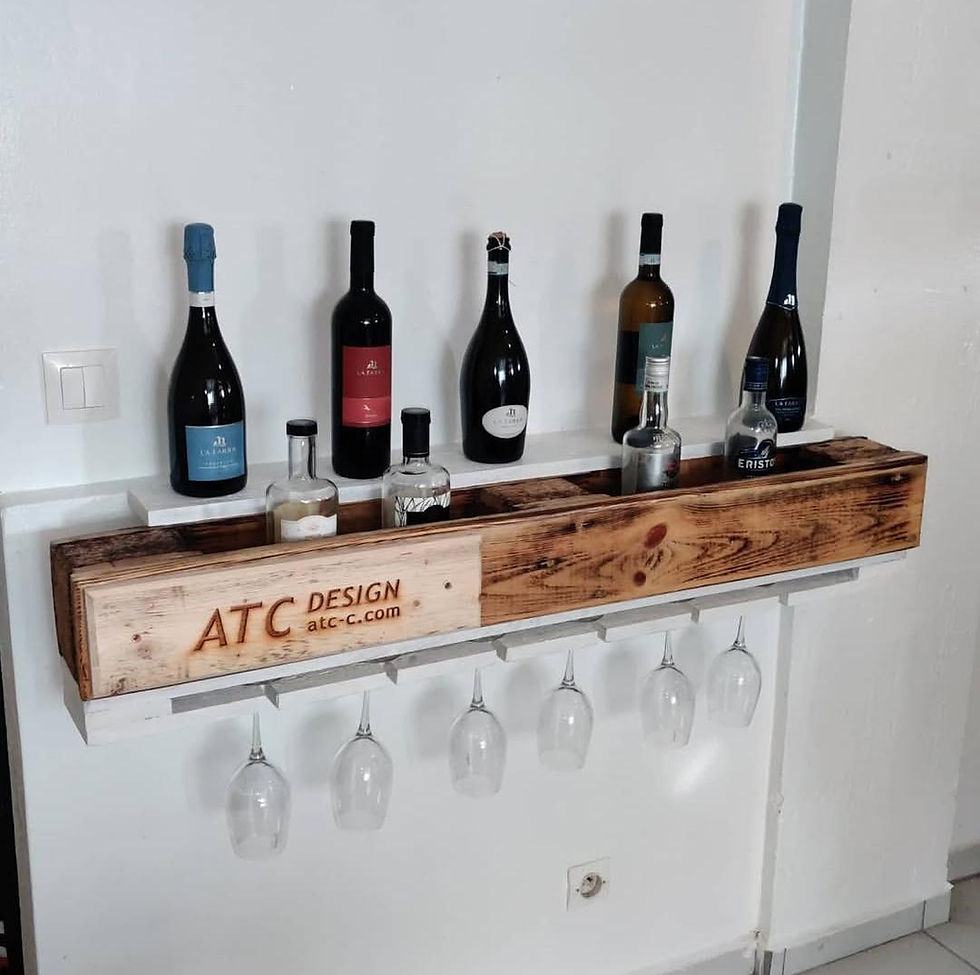
Final Result
And here it is: A stunning DIY cutting board created entirely from reclaimed wood.
If you enjoyed this project or plan to make your own, feel free to share it on social media it helps support creativity and recycling!
Mr ATC for Another idea of housing


Comments