
DIY Reclaimed Wood Side Table | Upcycled Furniture

Updated: 6 days ago
How to Make a DIY Reclaimed Wood Side Table? What if a few reclaimed construction boards and pieces of old parquet could be transformed into a modern and original piece of furniture?
For this project, I wanted to create a low side table for a bedroom or living room, using mainly reclaimed construction wood that would otherwise have been discarded.

The idea was not only to create a functional piece of furniture, but also to demonstrate how waste wood and leftover materials can be transformed into something completely new.
The table features a rounded tabletop, a lower storage shelf and a decorative side structure made from multiple small wooden slices. To add even more character, I used reclaimed parquet pieces around the outside of the table.
The result is a unique piece of upcycled furniture with a natural and handmade look.
Materials You Will Need
For this project, I used:
Reclaimed construction wooden boards
Reclaimed or leftover parquet flooring
Wood glue
Screws or suitable wood fasteners
Sandpaper
Wood finish or protective oil, if desired
The great thing about a project like this is that the exact dimensions don't need to be identical to mine. You can adapt the size of the table according to the materials you already have available.
Tip: Before throwing away leftover construction wood, flooring or other timber, think about whether it could become part of your next DIY furniture project.
Tools Used for This DIY Project
Here are some of the tools you can use to build a similar reclaimed wood side table.
You can add your Amazon affiliate links to each tool below:
Step 1 – Preparing the Reclaimed Wood
The first step is to select and prepare the reclaimed construction boards.
Because reclaimed wood can contain old nails, screws, dirt or other imperfections, always inspect the boards carefully before cutting them.

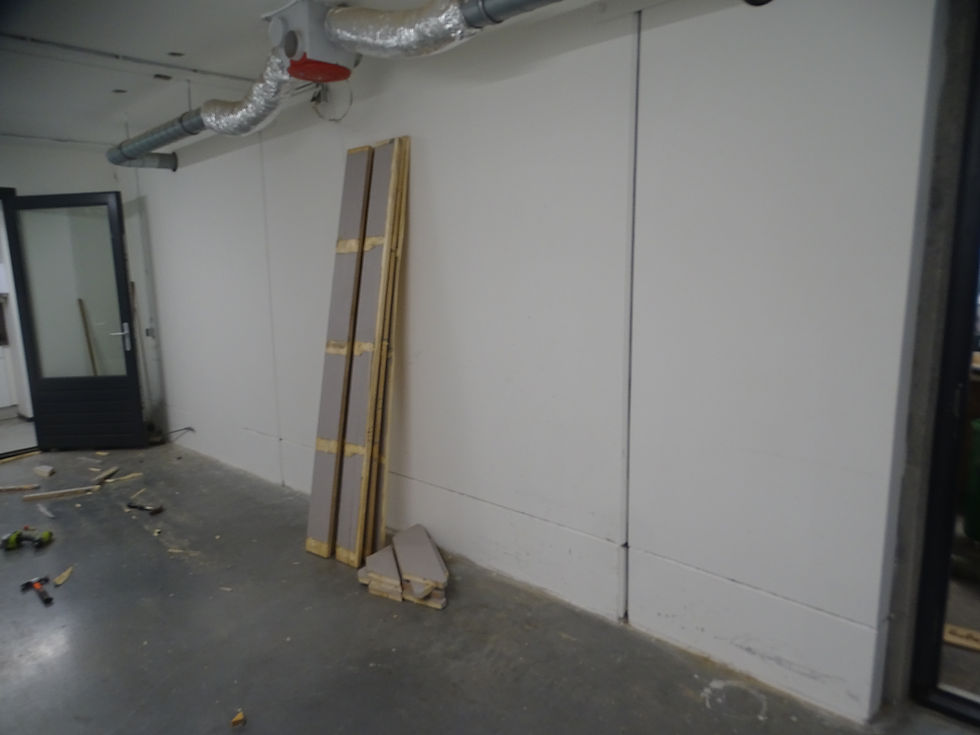


Remove any metal parts and clean the wood before starting.
I then cut the boards to the dimensions required for the tabletop, lower shelf and legs.
One of the advantages of using reclaimed wood is that every piece has its own character. Small knots, marks and variations in colour can actually become part of the final design.
Step 2 – Creating the Tabletop
For the tabletop, I assembled several reclaimed wooden boards together to create a wider panel.
Once the boards were joined, I marked the rounded shape and carefully cut it to create the final design.


The rounded tabletop gives the furniture a softer and more contemporary appearance while also making it suitable as a bedside table, living room side table or decorative display table.
After cutting, I sanded the surface to remove rough edges and prepare the wood for finishing.
Step 3 – Making the Legs and Lower Shelf
The legs are also made from reclaimed construction wood.
Instead of simply using four conventional legs, I wanted to give the table a more distinctive appearance.

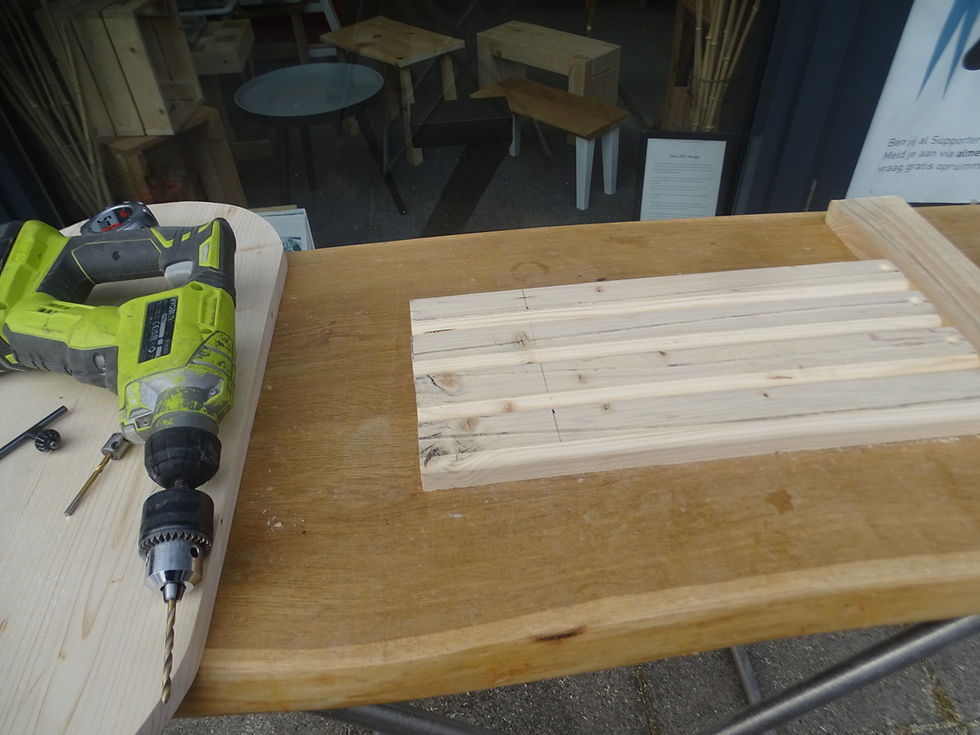


The construction boards were cut into several sections and positioned around the sides of the table.
A lower wooden shelf was then added between the legs.
This provides an additional surface for books, decorations, plants or other everyday objects.
Step 4 – Adding the Reclaimed Parquet Detail
One of the details that makes this table different is the reclaimed parquet used around the outside.


I cut the parquet pieces into smaller sections and positioned them vertically around the sides of the table.
This creates a decorative wooden pattern while giving a second life to flooring material that might otherwise become waste.

I also kept some of the natural variations between the different pieces of wood.
This is one of my favourite aspects of working with reclaimed materials: you don't need every piece to look identical to create a beautiful result.
Step 5 – Sanding and Finishing
Once the structure was assembled, I carefully sanded all the surfaces and edges.
With reclaimed wood furniture, sanding is particularly important because the material can have rough areas, splinters and uneven surfaces.
You can then choose how you want to finish your table.
For a natural appearance, you could use:
Natural wood oil
Hardwax oil
Clear wood varnish
Water-based protective finish
For this project, I wanted to preserve the natural appearance of the wood and highlight the different tones and textures.
Step 6 – Turning the Table Into a Display
The final step was to give the table another purpose.
Instead of using it only as furniture, I decided to turn it into a display for a ROKR wooden model.


This creates an interesting combination of two different DIY worlds:
upcycled furniture + wooden model building.
The reclaimed wood table becomes a display platform for the finished model while demonstrating how DIY projects can be integrated into everyday interiors.
🎥 Watch the DIY Build
Want to see how this reclaimed wood side table was made?
Watch the short DIY video above and follow the transformation from reclaimed construction wood to a unique piece of furniture.
👉 For more DIY projects, upcycling ideas, woodworking tutorials and creative furniture projects like this one, subscribe to our YouTube channel!
Our Partnership with ROKR
This project was also created to highlight our partnership with ROKR, combining our passion for sustainable DIY furniture with their creative wooden model-building kits.
The ROKR collection offers wooden mechanical models that can be assembled as a hands-on activity, making them an interesting project for families, children and adults who enjoy building and creating.

For this project, I used the ROKR spaceship model as a display piece on the reclaimed wood table.
It is a great example of how a DIY project doesn't necessarily have to stop when the construction is finished. A piece of furniture can also become a creative display for another project, model or collection.
Build it. Create it. Reuse it. Inspire others. ♻️


Comments